Classic Crochet Granny Square: Free Beginner Pattern
A stack of finished granny squares feels substantial and warm in your hands, with a crisp texture that defines the clean geometry of your stitches. This project suits beginners who want to practice tension, gift makers needing a reliable pattern, and home decor lovers building an heirloom blanket one square at a time. You will learn the foundational three-double-crochet cluster technique that keeps the square growing evenly from the center out. Mastering this simple structure builds your confidence for larger, more complex designs later, while the repetitive motion creates a quiet, focused headspace that feels good after a long day.
Why You’ll Love This Pattern
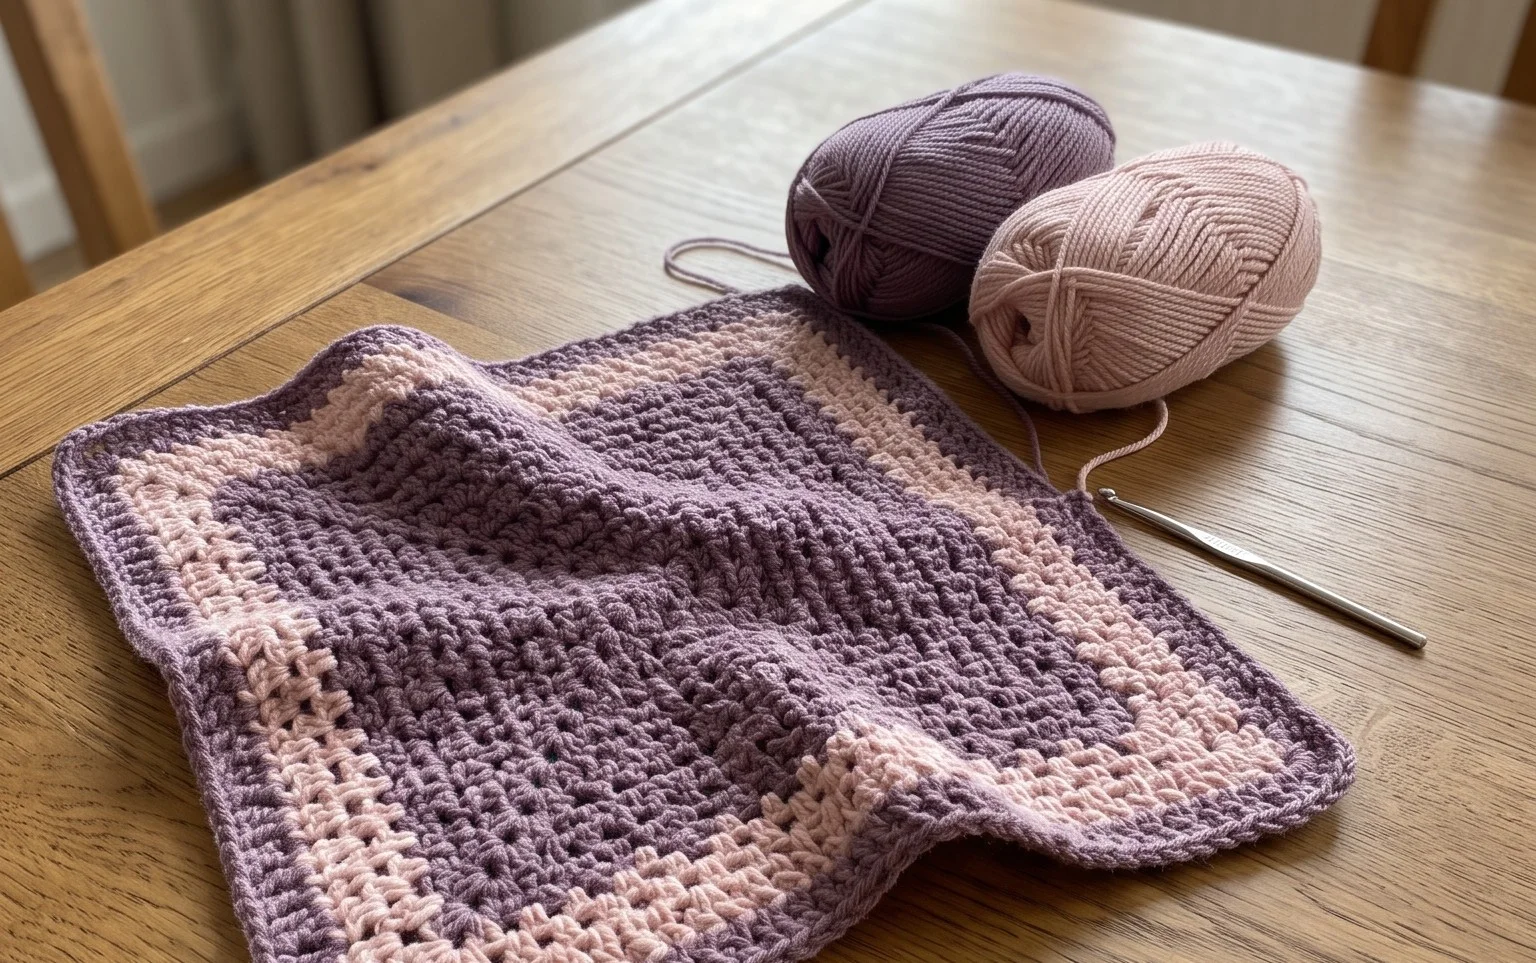
The Classic Crochet Granny Square is the foundational building block for endless textile projects, ranging from heirloom blankets to modern tote bags. This pattern relies on a repetitive three-double-crochet cluster structure that is meditative to work on during long commutes or while listening to a podcast. Because it uses basic stitches and a clear turning-free construction method, it is a highly accessible project for those who have just learned how to hold a hook and yarn. It also functions as a highly effective stash-buster, as each square requires only a small amount of yarn, allowing you to create high-contrast color combinations or use up variegated remnants.
I finally mastered the chain-three corner turn and my edges are perfectly straight for the first time. This pattern is the only one that actually made sense for my first blanket project.
— Sarah, beginner crocheter
Pattern Overview & Skill Level
- Skill Level: Beginner
- Approximate Time: 30 to 45 minutes per square
- Construction: Working in joined rounds from the center outward
- Finished Dimensions & Sizing: Approximately 5 inches by 5 inches when using standard worsted weight yarn and a 5.0 mm hook
Materials & Supplies Needed
- Yarn: Worsted weight (#4), 100% wool or acrylic blend, approximately 15–20 yards per square.
- Hook Size: 5.0 mm (US H-8).
- Notions: Yarn needle for weaving ends, scissors, and optional locking stitch markers for identifying corner spaces.
- Safe yarn substitutions: You may substitute with DK weight (#3) yarn to create a smaller, 4-inch square, or bulky weight (#5) to create a larger, 6-inch square. Be aware that changing the yarn weight will shift the final dimensions and may require a different hook size to maintain a dense, hole-free fabric.
Stitch Guide & Abbreviations (US Terms)
- ch = chain
- st/sts = stitch/stitches
- sl st = slip stitch
- dc = double crochet
- dc cluster = 3 dc worked into the same space
- sp = space (the gap created by ch-1 or ch-2)
- MR = magic ring
Step-by-Step Pattern Instructions
Granny Square Body
- Rnd 1: Start with a MR. Ch 3 (counts as first dc), work 2 dc into the ring, ch 2. 3 dc into the ring, ch 2 three times. Join with a sl st to the top of the initial ch-3. (12 sts, 4 ch-2 spaces)
- Rnd 2: Sl st into the next two sts and into the first ch-2 corner sp. Ch 3, 2 dc, ch 2, 3 dc in the same corner sp. Ch 1, skip 3 sts, (3 dc, ch 2, 3 dc) in the next corner sp. Repeat from * to * two more times. Ch 1, join with a sl st to the top of the initial ch-3. (24 sts, 4 corner spaces, 4 side ch-1 spaces)
- Rnd 3: Sl st into the next two sts and into the corner sp. Ch 3, 2 dc, ch 2, 3 dc in the same corner sp. Ch 1, 3 dc in the next side ch-1 sp, ch 1, (3 dc, ch 2, 3 dc) in the next corner sp. Repeat from * to * two more times. Ch 1, 3 dc in the final side ch-1 sp, ch 1, join with a sl st to the top of the initial ch-3. (36 sts, 4 corner spaces, 8 side ch-1 spaces)
- Rnd 4: Continue the pattern by working (3 dc, ch 2, 3 dc) into every corner sp and 3 dc into every side ch-1 sp, separating all clusters with a ch-1. Join with a sl st to the top of the initial ch-3. (48 sts)
Finishing
Fasten off your yarn, leaving a 6-inch tail. Pull the tail through the final loop to secure the knot. Use your yarn needle to weave the tail back and forth through the back of the double crochet clusters to hide it. Trim any excess yarn flush with the fabric.
Care & Washing Instructions
- Hand wash in cool water using a gentle wool-safe detergent to preserve the structure and prevent felting.
- Lay the square flat on a clean towel and reshape it while damp to ensure the corners remain square during the drying process.
- Avoid wringing or twisting the fabric, as this stretches the stitches and distorts the cluster alignment.
Pro Tips & Common Mistakes to Avoid
Maintain consistent tension by ensuring your yarn is not wrapped too tightly around your fingers. If your square is cupping, your tension is likely too tight; if it is ruffling, your tension is likely too loose. Place a stitch marker in the ch-2 corner space at the start of every round so you can easily identify where to join your slip stitch at the end of the round. Weave your ends in by threading the yarn through the back loops of the stitches in the opposite direction of your last row to prevent them from slipping out over time. If you decide to adjust the size of the square by adding more rounds, remember that each additional round increases your yarn requirement significantly, so ensure you have enough remaining yarn before starting another round.
Frequently Asked Questions
Can I use a cotton yarn instead of wool or acrylic?
Yes, cotton yarn works well for granny squares, though it has less elasticity. You may notice your square feels stiffer and requires a slightly larger hook to achieve a similar drape.
Why are my corners curling inward?
Curling usually occurs if you are missing a chain stitch in the corners or if your yarn tension is inconsistent. Ensure you are working a full ch-2 between your double crochet clusters in each corner.
Is this pattern suitable for making a garment?
This square can be joined to create garments, but you must ensure your gauge is consistent across all squares. Use a flat-braid join or a mattress stitch to connect them for a professional finish.
Are there restrictions on selling finished items made from this pattern?
This is a standard construction method. You are free to sell items made from your own labor, but please use your own photographs and write your own product descriptions rather than copying this text directly.
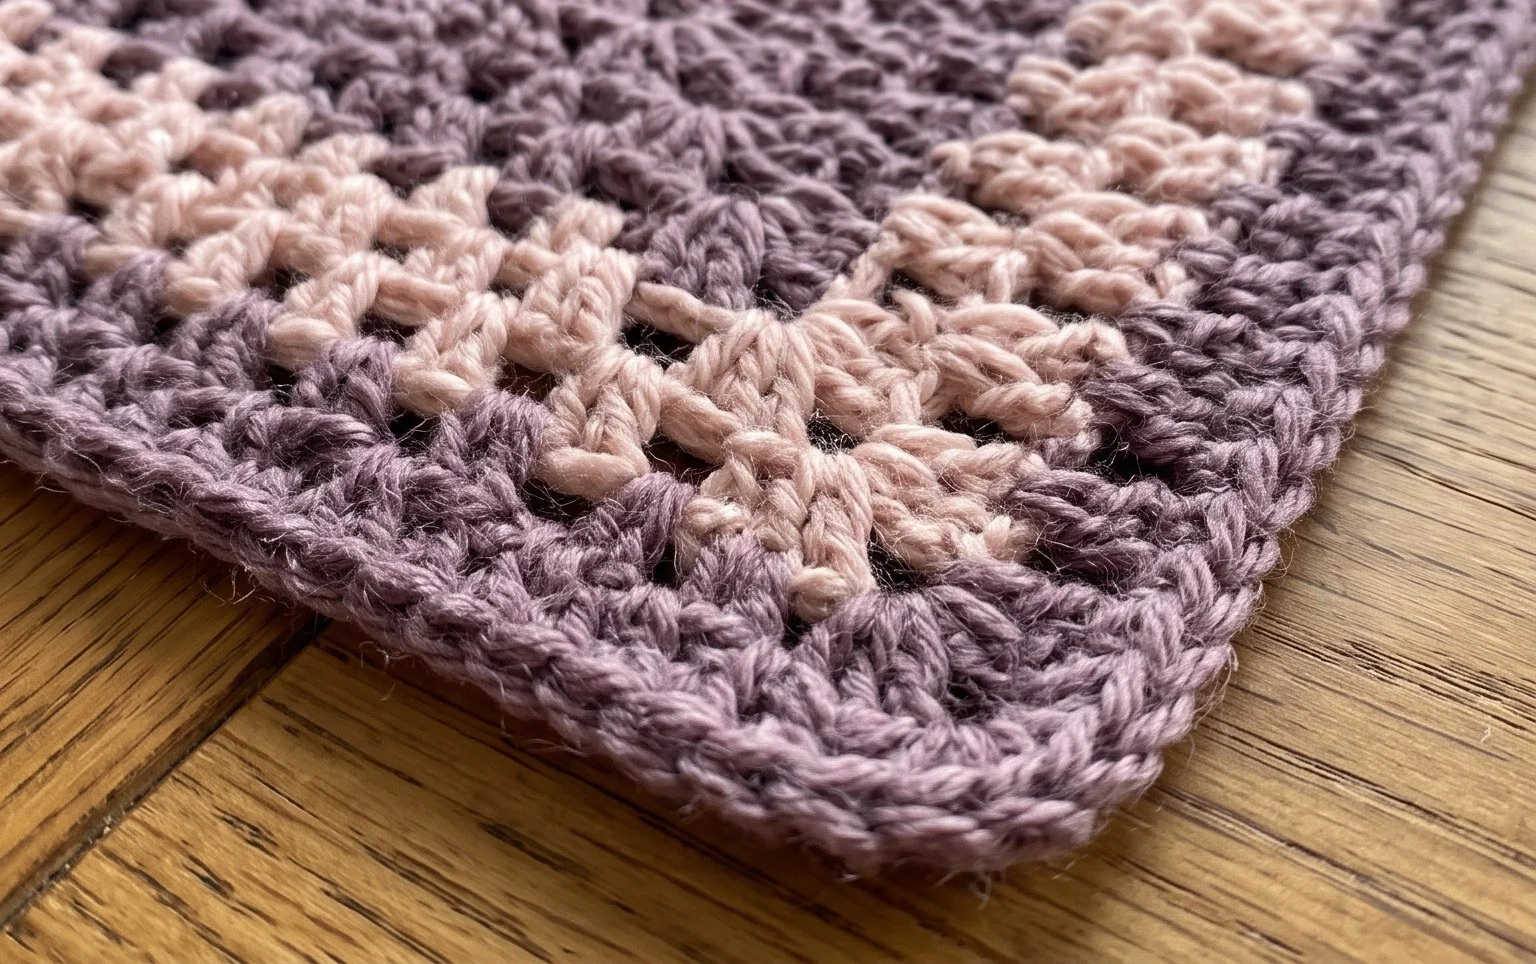
Your finished square looks crisp and professional when blocked with a little steam to even out the tension. Try using a variegated wool yarn for your next set to create unexpected color shifts without changing balls of yarn mid-row. Seeing your progress matters, so please post a photo of your work online to inspire others in the community. You can find more free patterns and seasonal projects on the blog whenever you feel like starting something new. Keep your hook handy, and enjoy the rhythm of your next set of stitches.